
makerbot, a global leader in 3D printing, presents a range of post-processing guides to take ideas and 3D models beyond the build plate. outlining six different methods, the instructions inform creators with cost-effective techniques to produce realistic prototypes, molds, packaging material, electronic devices, and functional machines. basing these step-by-step guides on customer feedback and conversations with the wider 3D printing community, they suggest powerful and effective techniques for getting even more from 3D prints.
all images courtesy of makerbot
‘one of the most valuable aspects of post processing is the ability to create molds from a 3D print and then quickly and cost effectively make multiples of an object,’ said mark palmer, head of experience design at makerbot. ‘this is a great way to create a batch of parts faster than 3D printing them individually while avoiding the costs of outsourcing. it requires a bit of legwork but can be a powerful tool for many product development applications.‘
‘many people think about 3D printing as a singular step, with limitations based on each of the various printing technologies – FDM vs SLA, vs SLS, etc.‘ he continued by saying, ”it’s better to think of 3D printing as the most effective tool for creating accurate and complex forms, instead of the only step in the process
post processing opens up a world of interesting possibilities beyond just the print, but requires you to think about the process a bit differently. we’re excited to guide our users towards awareness of these possibilities and the basic skills to take advantage of this potential,‘ concluded mark.

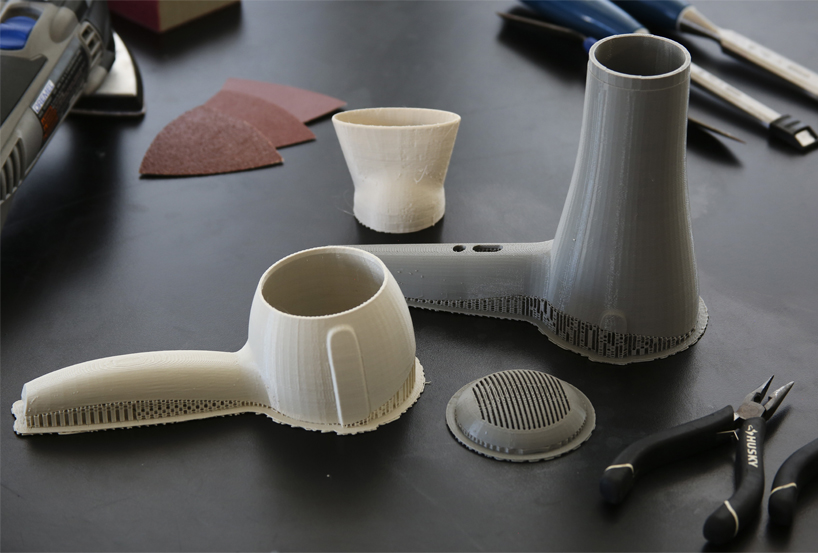
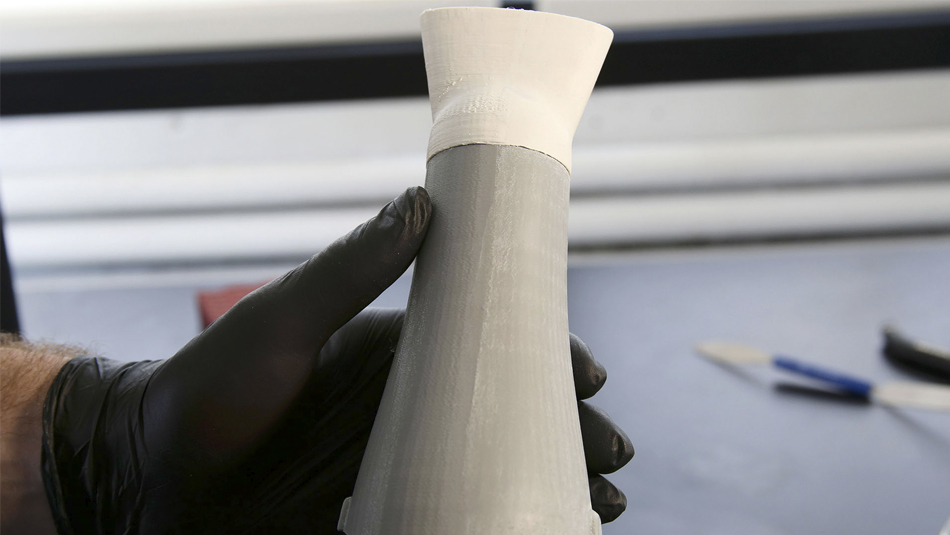
sanding techniques can ensure the prototype has a smooth surface finish
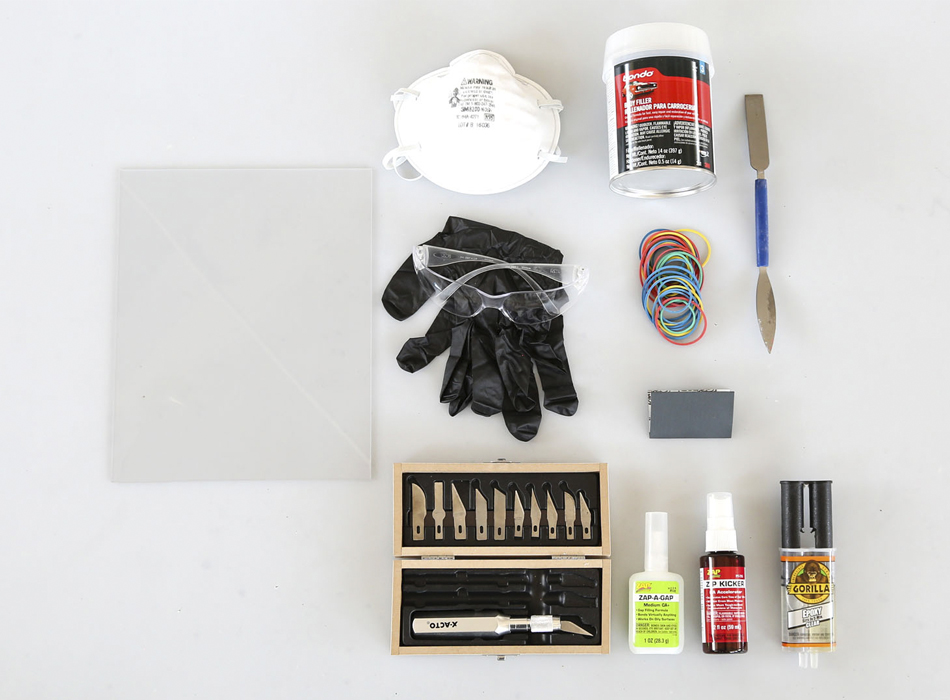
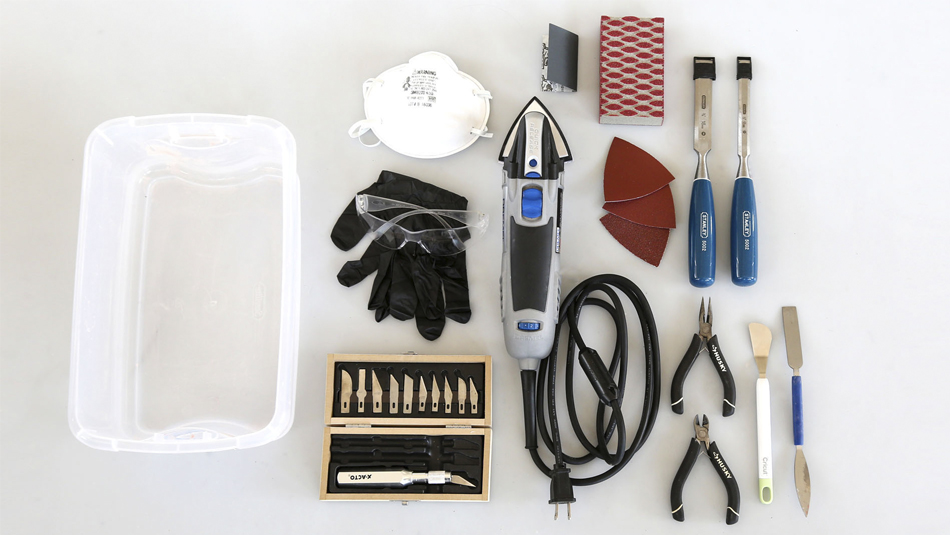
once taken from the build plate, it is essential to sand the model to prepare it for stages later on, such as painting, silicon molding, or vacuum forming. makerbot outlines a set of supplies and a step-by-step list of application on how to best prepare the 3D print. it is important to start with more rough techniques to remove support constructions, before refining the surface finish using more fine dry and wet sanding methods.
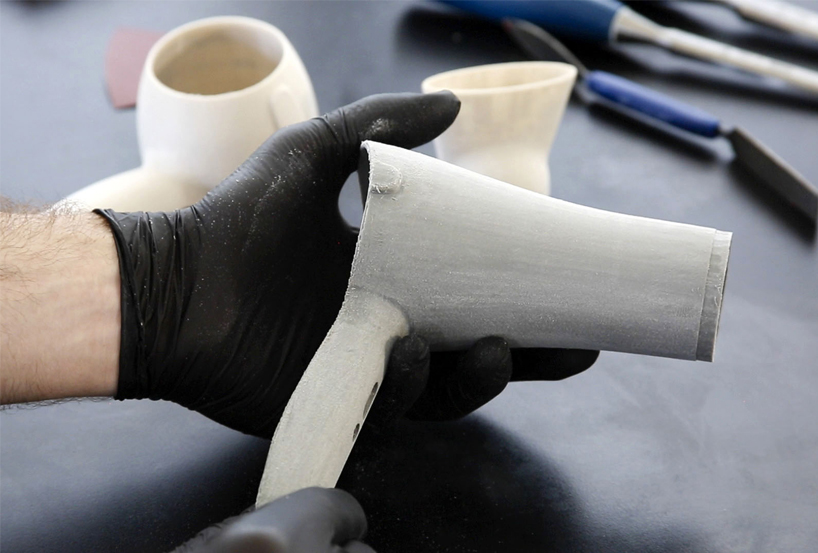
sanding methods can also ensure that edges a crisp and precise
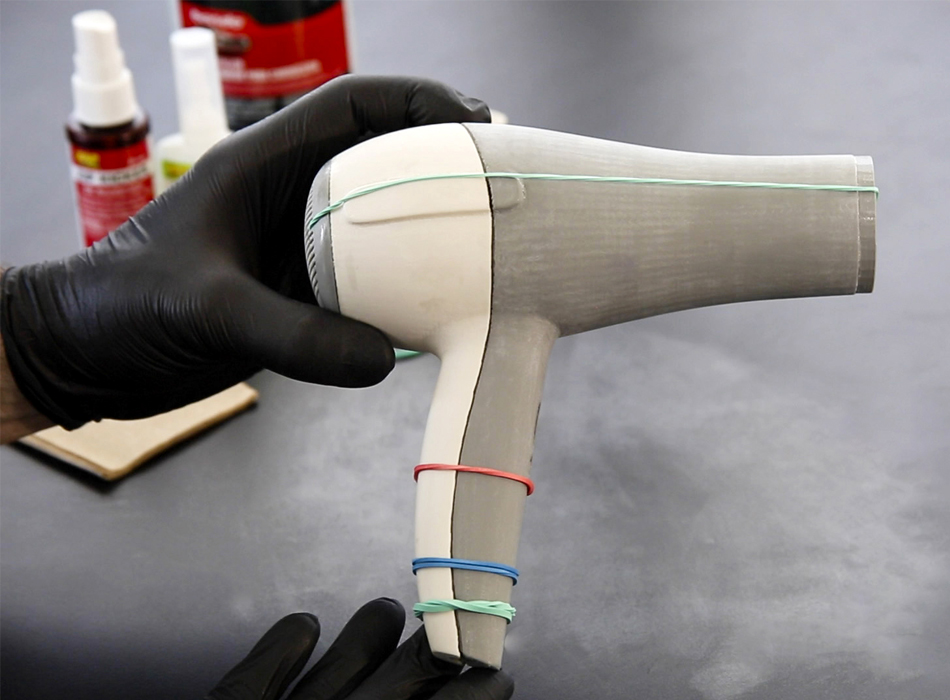
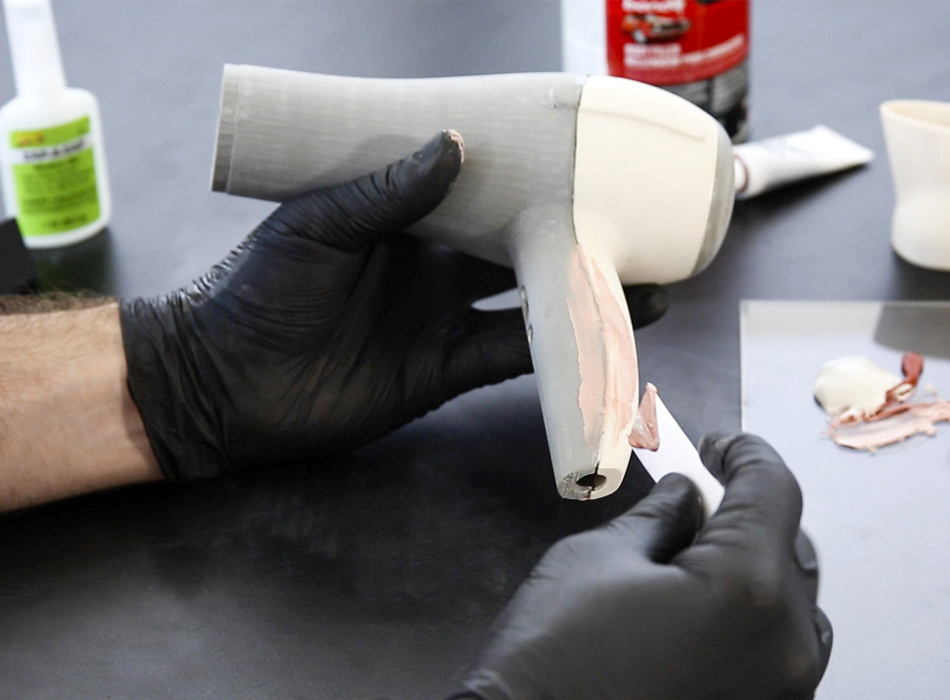
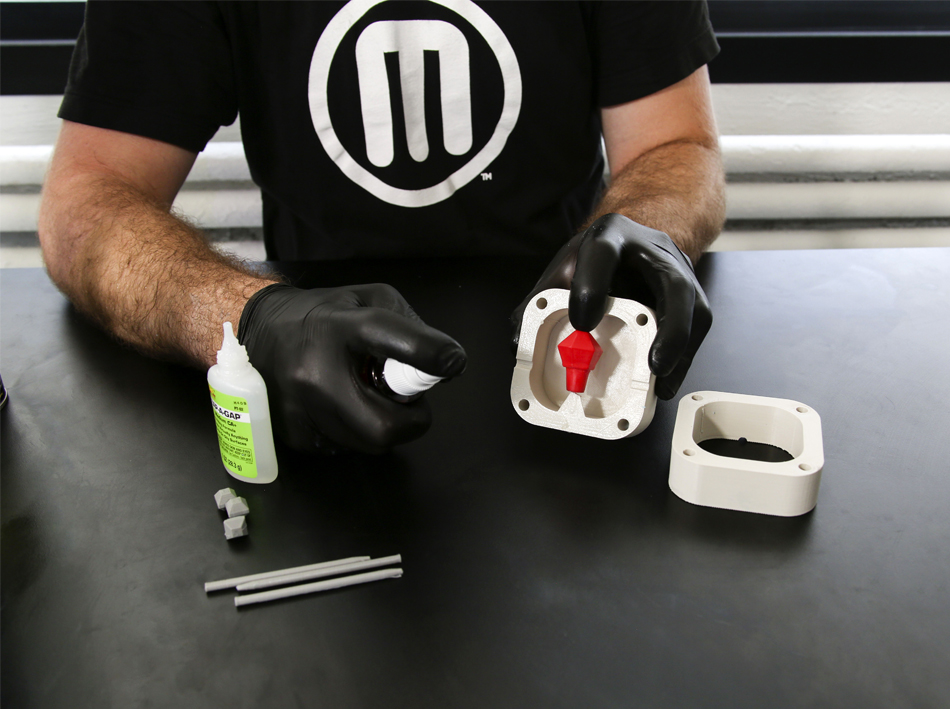
with the parts blemish-free, smooth and crisp with precise edges, 3D prints can be glued together to form prototypes with multiple components. furthermore, this technique can enable creators to produce models larger than the build volume of their printer. for this guide, it is essential that makers secure components prior to spot gluing. once the seams are joined, makerbot recommends users to check the edges to see if filler is needed to even the joint areas.
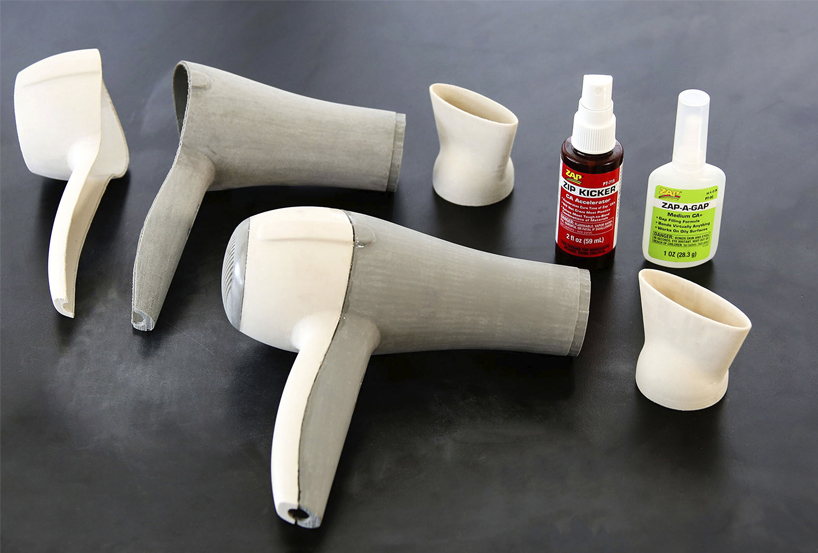
large volume models can be formed by gluing 3D printed parts together
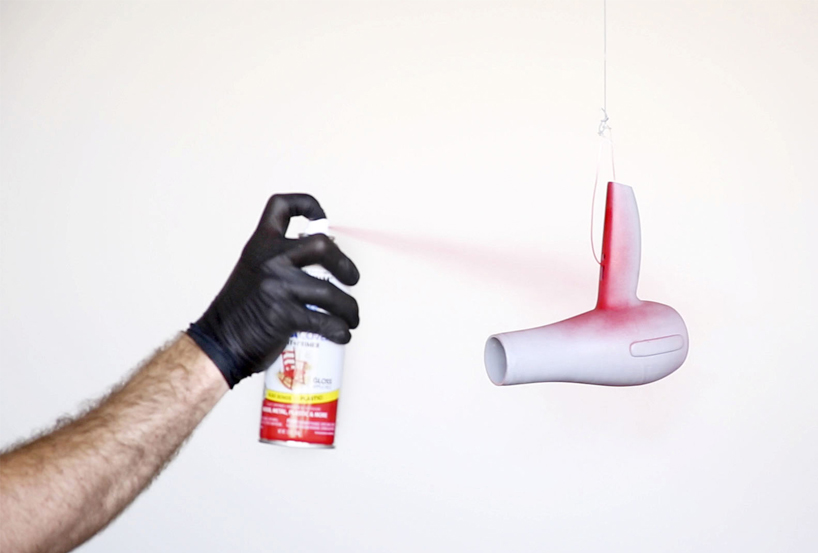
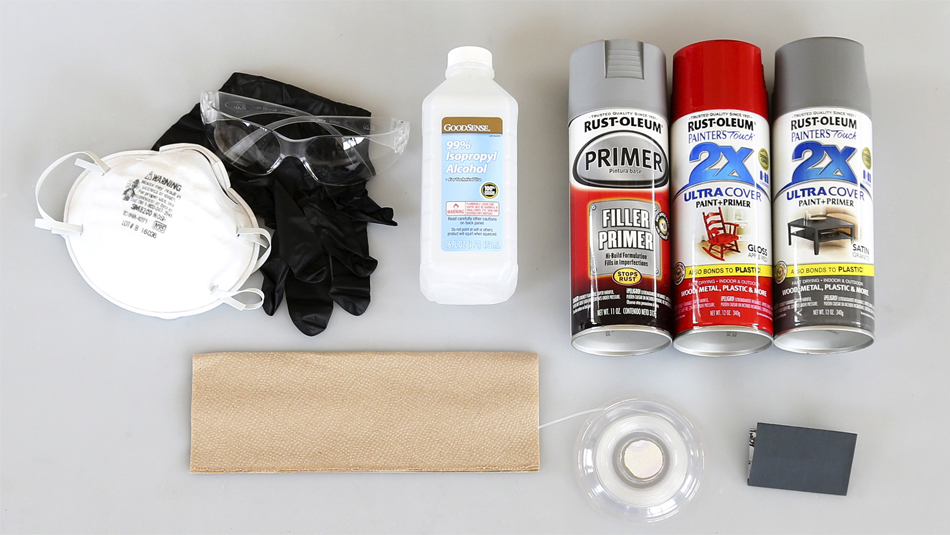
painting can be an effective and realistic solution for creators producing concept models, props and art work. building upon their knowledge as well as that of the wider 3D printing community, makerbot presents a step-by-step handbook on how to achieve an almost automotive level paint job for a 3D print. after hanging the model from a cord, makers should adopt a position 25 to 30 cm away from it and spray on a primer in small layers around the object. following another round of sanding, the smooth and protected model can now be sprayed in paint. when dry, this produces a ready and aesthetically realistic prototype for presentations, sets or galleries.
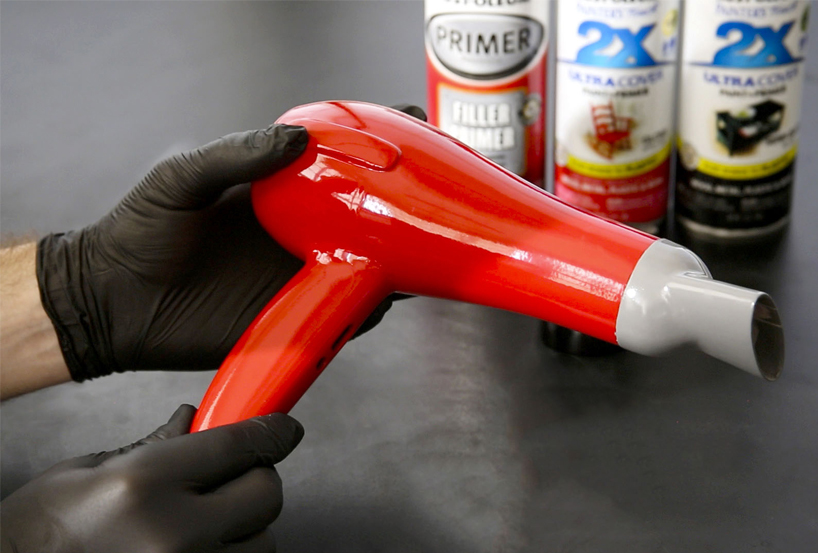
makerbot’s painting methods allows creators to produce high quality paint jobs
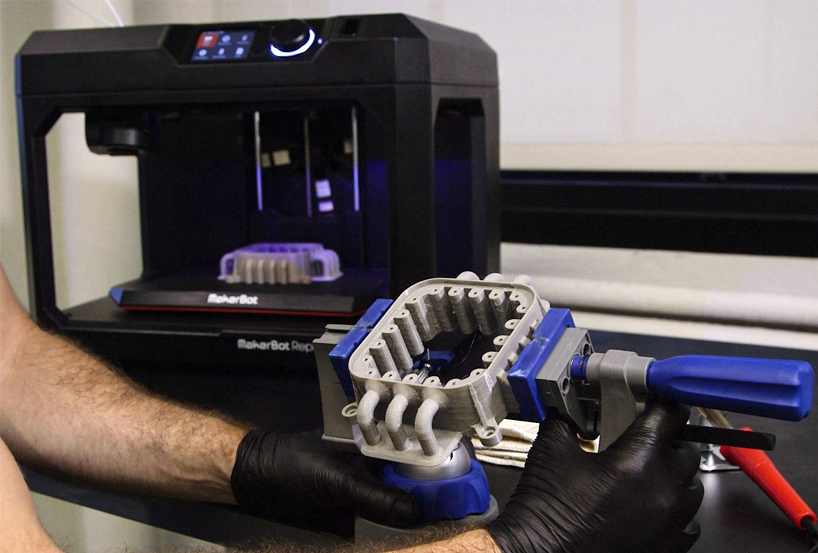
threaded inserts can be installed into 3D prints
looking at the fourth technique of makerbot’s post-processing guide, the company informs creators of how to install threaded inserts into 3D prints. this can be a great way to add longevity to 3D printed enclosures that are required to accept metal screws. with the use of a soldering iron, inserts can be partially and then fully installed following some cooling time in-between. afterwards, screws, washers and switches can be added to complete the electrical enclosure.

these inserts can support the regular mechanical demands of screwing and unscrewing
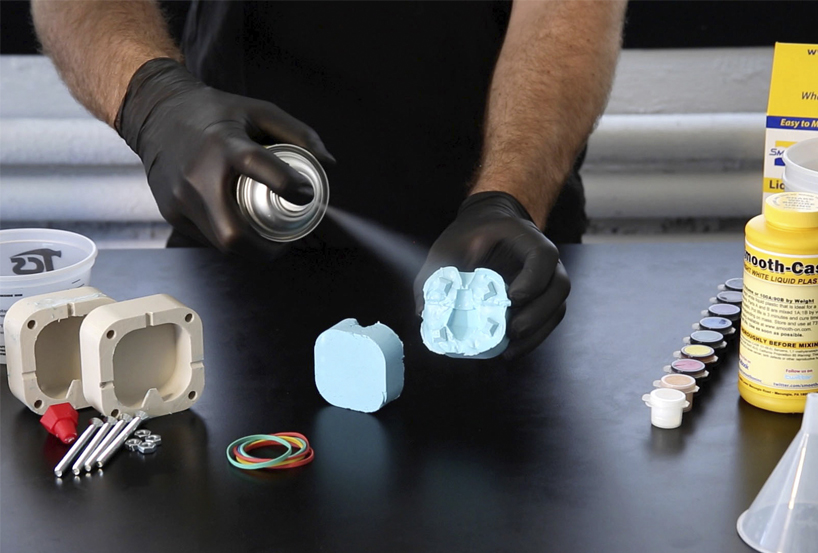
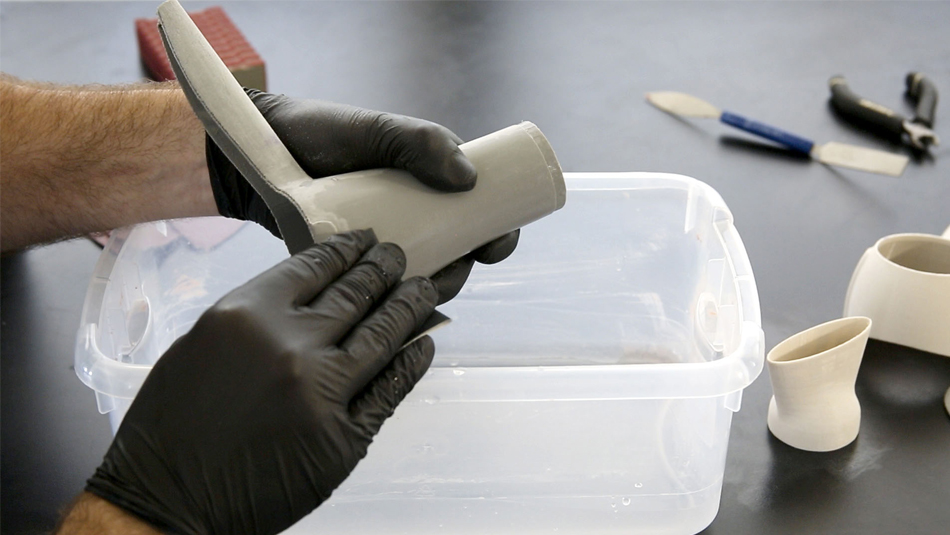
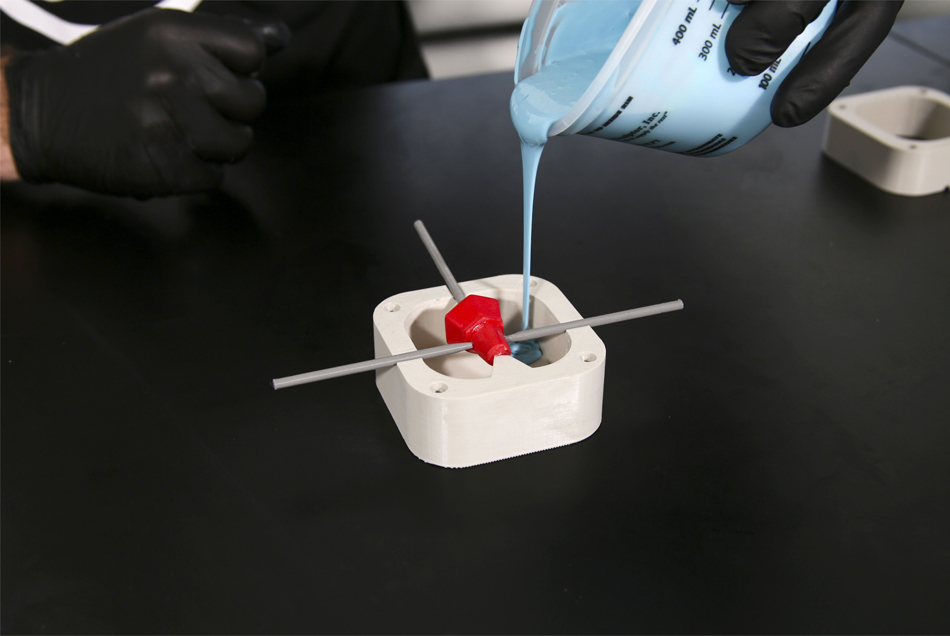
3D prints can be used to create molds for silicone molding
silicon molding is a powerful manufacturing method that allows users to create objects in materials typically not supported by 3D printers. however, side-stepping around this limitation, the benefits of 3D printing; high speed creation of low cost but complex geometries, mean users can easily produce molds. by pouring silicone into an encasing and also around a 3D printed master model, makers can create objects much faster and with greater variety than they would with prints.
‘many of these techniques, like mold making using 3D prints as forms, have been used for years by high end prototype shops operating expensive, industrial 3D printers,‘ stated makerbot’s head of experience design, mark palmer. ‘our goal is to empower users to utilize these processes themselves, with their desktop makerbots, in a more direct, iterative, and cost effective way. we believe that a hands-on dialog with any prototyping process – especially 3D printing, will lead to better design solutions and results.
‘for example, many products these days come packaged with thermoformed trays that help stabilize the product within its box. of course you could print these trays, but this may not reflect the performance or feel of a production tray made with real materials.‘ he continued to mention, ‘with 3D printing you can easily print a mold that can be used to create thermoformed trays in the same sheet materials that would be used in mass production, like polystyrene. you can even experiment with different sheet thicknesses to get the right feel or achieve the right performance for package drop testing.‘
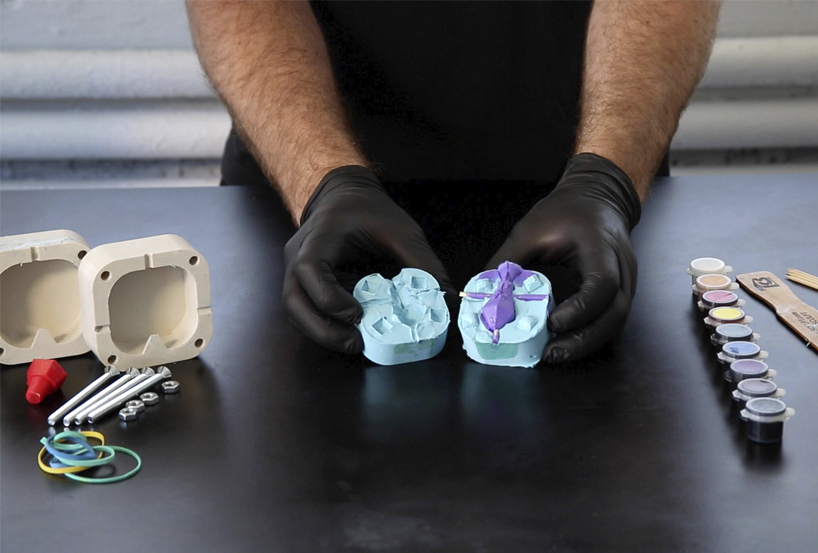
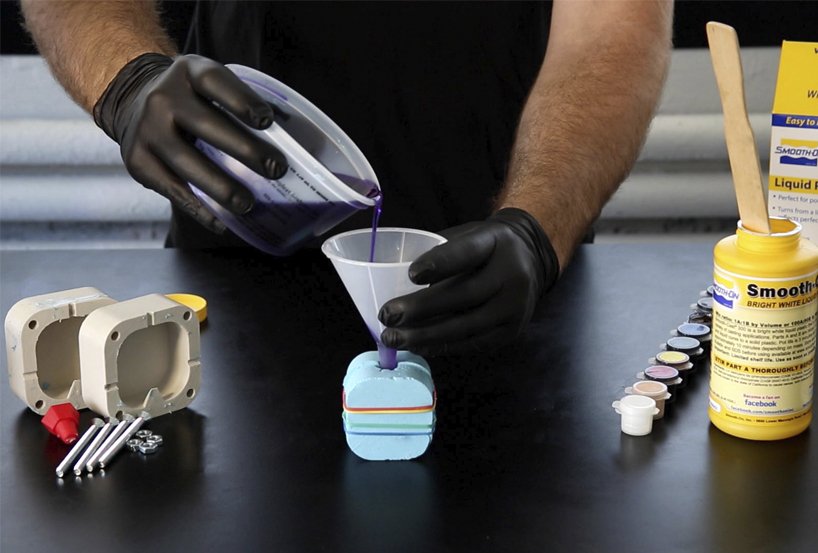
this process allows objects to be created much faster and with more variety such as colors
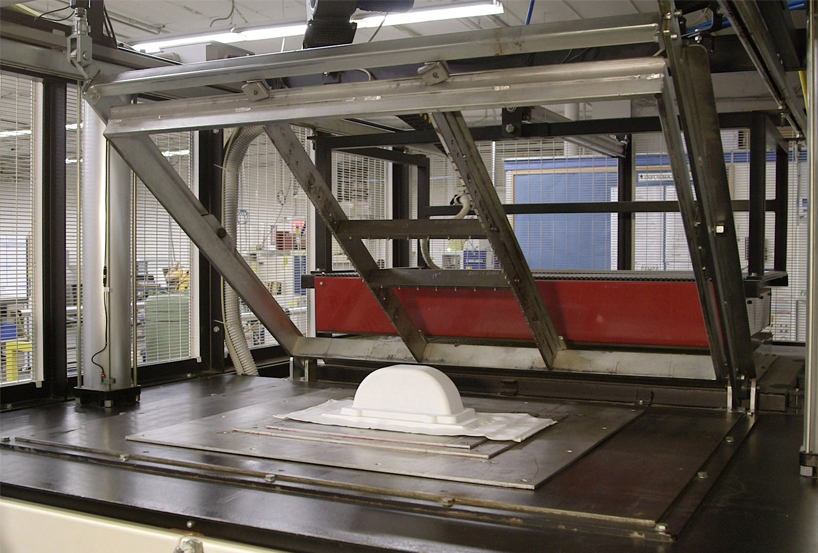
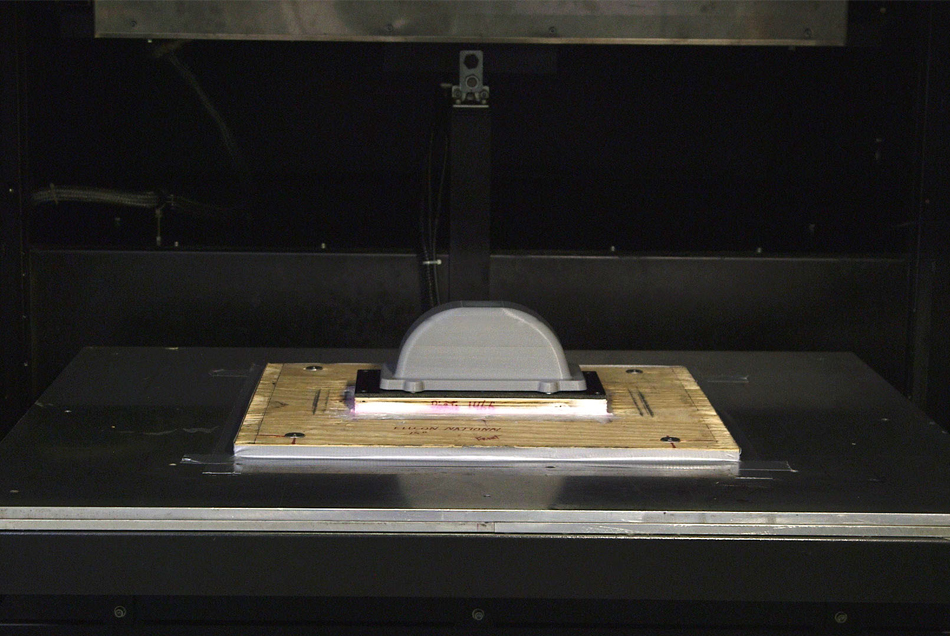
3D prints can also be used an inexpensive molds for vacuum forming
vacuum forming is commonly a manufacturing process used to create products, such as food containers, bathtubs and interior car panels, and their molds are usually expensively milled from aluminium. with their final guide, makerbot shows how 3D printing can offer manufacturers with the possibility to form complex yet inexpensive molds. realising the same finished effect as that of the expensive, aluminum mold, the system is a great technique to produce low volume prototyping.
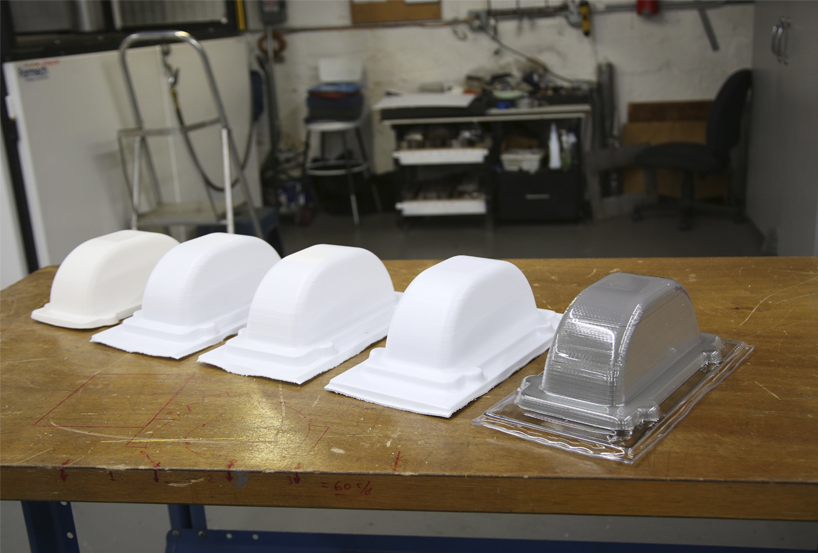
these molds would replace the expensive molds that are commonly milled from aluminum
makerbot’s post-processing guides are based on feedback and conversations within the 3D printing community. be sure to check out their step-by-step guides and techniques here, which are also supported by simple tutorial videos as well.

3D PRINTING (745)
 Apr 10, 2024
 Apr 02, 2024
MAKERBOT (6)
 Sep 21, 2016
 Sep 27, 2014
 Aug 19, 2014
 Aug 15, 2014
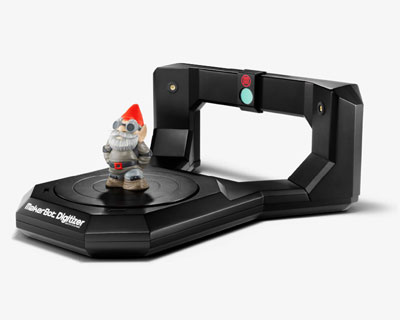 Aug 23, 2013
PRODUCT LIBRARY
 Mar 21, 2024
 Mar 13, 2024
 Feb 24, 2024
 Feb 07, 2024